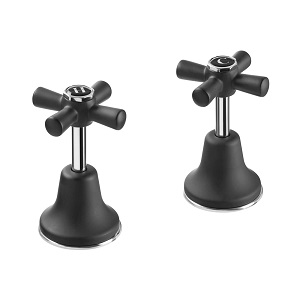
Description
Code : 2836.02
DISMANTLING YOUR OLD TAPWARE
- Turn off water at mains.
- Remove tap flange by unscrewing in an
anti-clockwise direction. - Remove all items above the wall surface,
i.e. hot & cold buttons, handles, bonnets &
spindles and jumper valves.
INSTALLING THE NEW TAPS
- First disassemble new modern lever taps by undoing the discreet locknut underneath the handle with the EZYFIX anti-vandal
spanner included. - Remove handle, o-ring, circlip, discreet locknut and all other components placing
them down in the order removed to make reassembly easier later on. - Remove the tap dress flange and then the locking nut. This bit is REALLY important!
- You should now be left with the cartridge assembly only.
- Fit the new assembly as shown in the
diagram. - Screw the cartridge assembly into the wall by hand until it screws up against the
seat. Then use a spanner to turn it until firmly secured. DO NOT OVER TIGHTEN THE CARTRIDGE - Fit the red fiber washer over the cartridge against the face of the wall tap body.
- Screw the locking nut on the cartridge assembly until it is firm against the wall
tap body using a spanner to ensure the locking nut is firmly secured. - Screw the tap flange onto the locking nut.
- Re-install all the handle components in the reverse order of the disassemble process.
- Re-tighten the discreet locknut underneath the handle.
- Turn taps off and turn the water back on
at the mains.